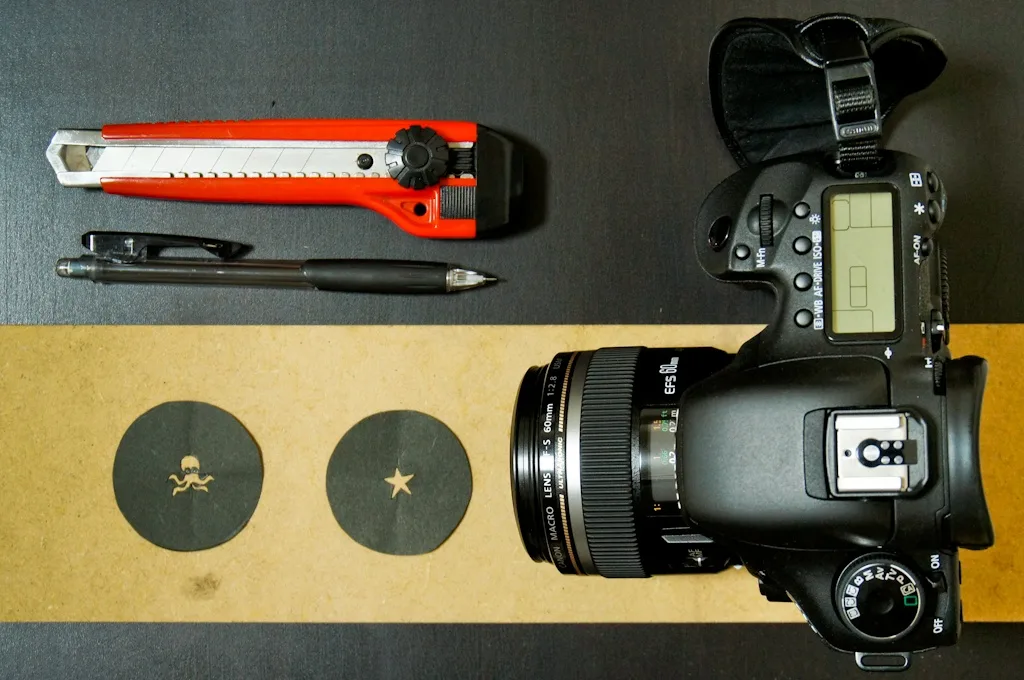
Looking for something creative to do that’s quick, easy and fun? Why not try Bokeh Shaping? All you’ll need is a pair of scissors, a box cutter, a pencil, some black paper and a bit of creativity.

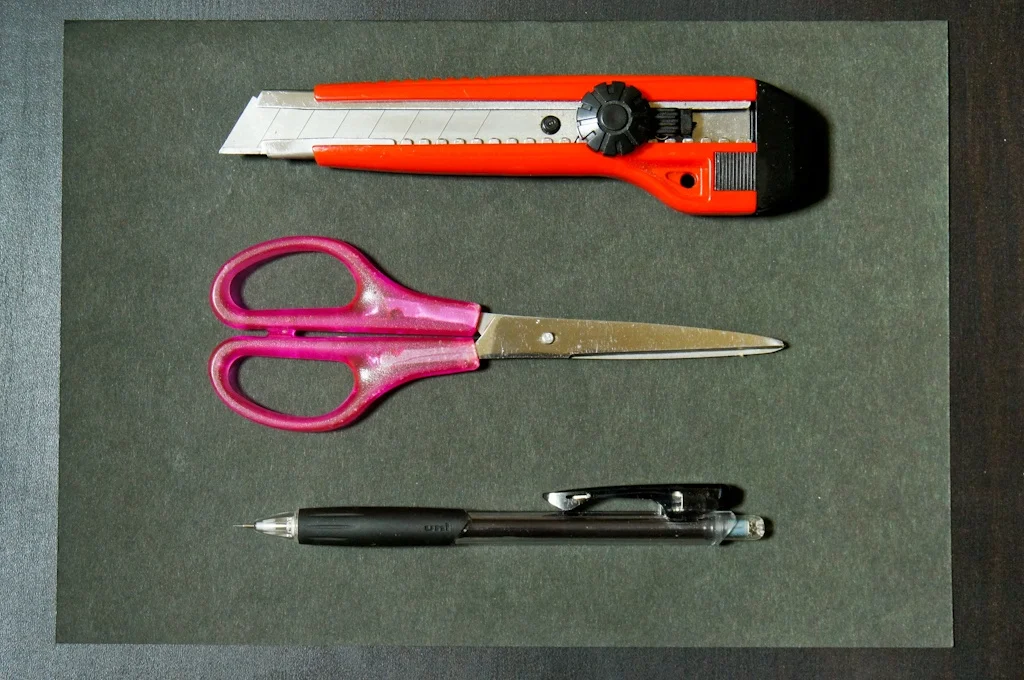
Oh! And of course a camera : )
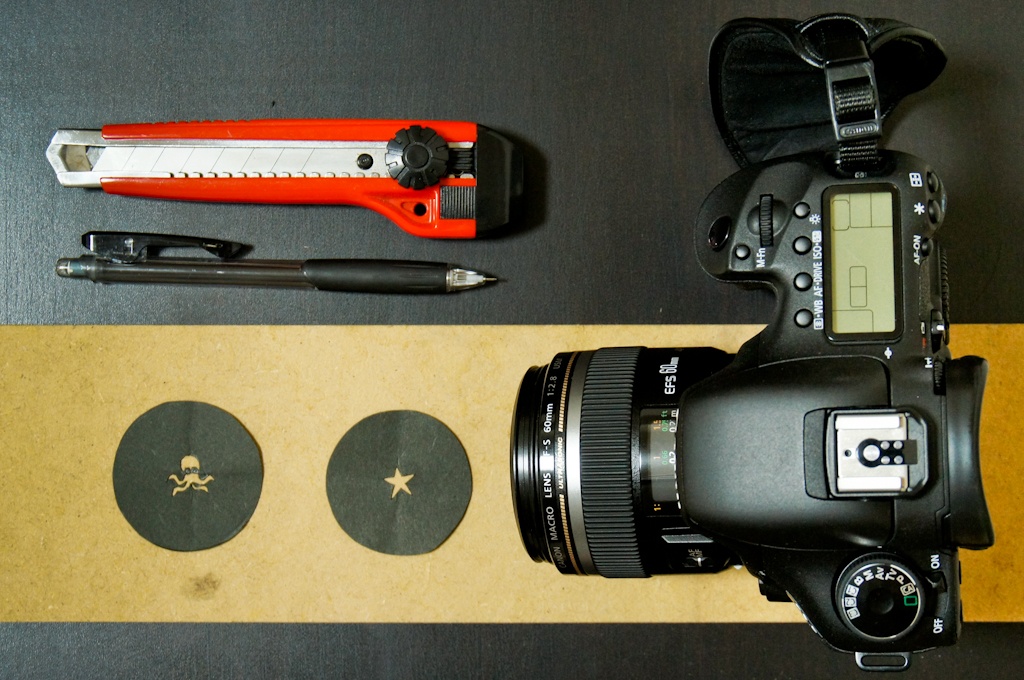
Speaking of cameras, here I’ve used a DSLR with a 60mm f/2.8 lens. Longer (50mm +) focal lengths and larger aperture (smaller f/ value) lenses tend to produce better results. Due to limitations in focal length, aperture and manual controls, most compact cameras may struggle, but it doesn’t hurt to try if that’s all you have on hand.
Steps:
1. Using the lens cap or lens filter as a guide, draw and cut out the circular piece that you’ll be using. If necessary, trim it to fit snugly within the lenses filter thread.
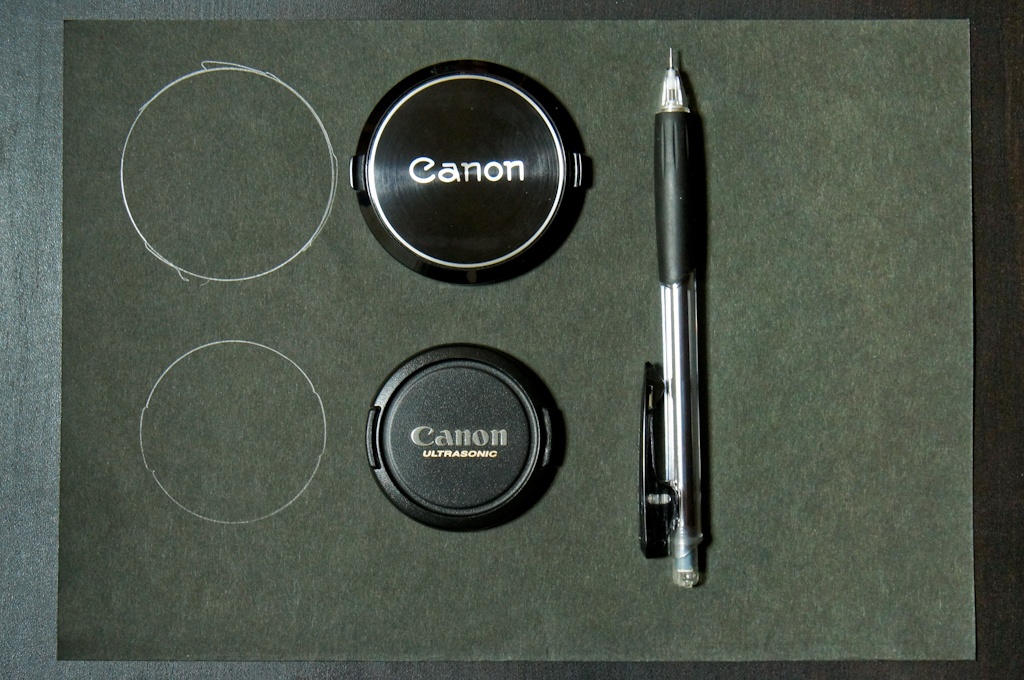
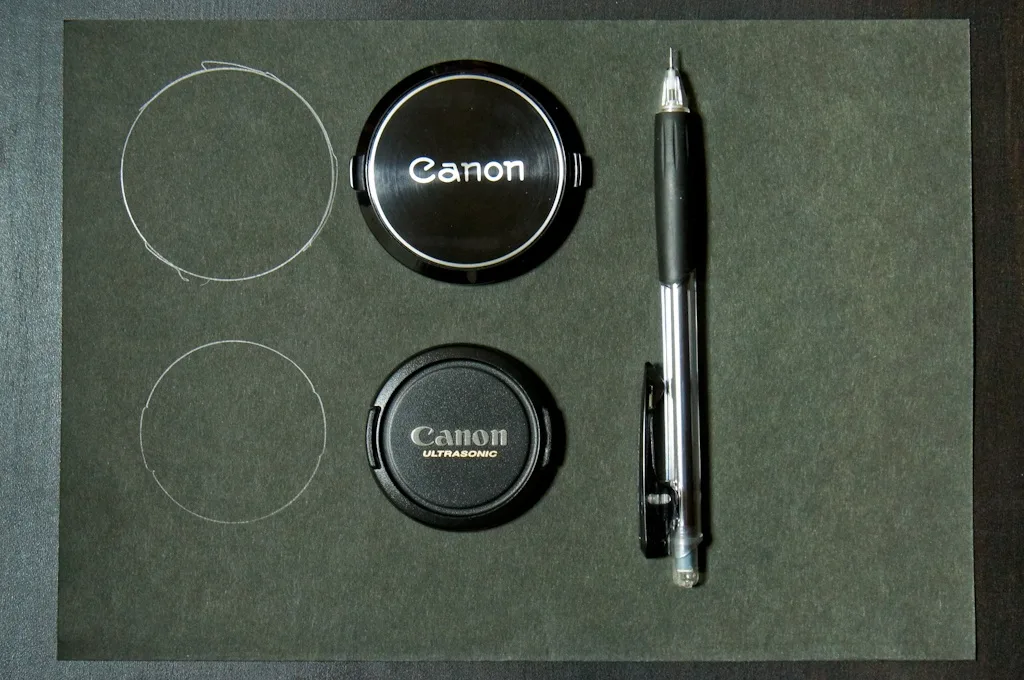
2. Find the center by folding into quarters.
3. Draw and cut out your shape as cleanly as possible. A box cutter helps with the precision and details.
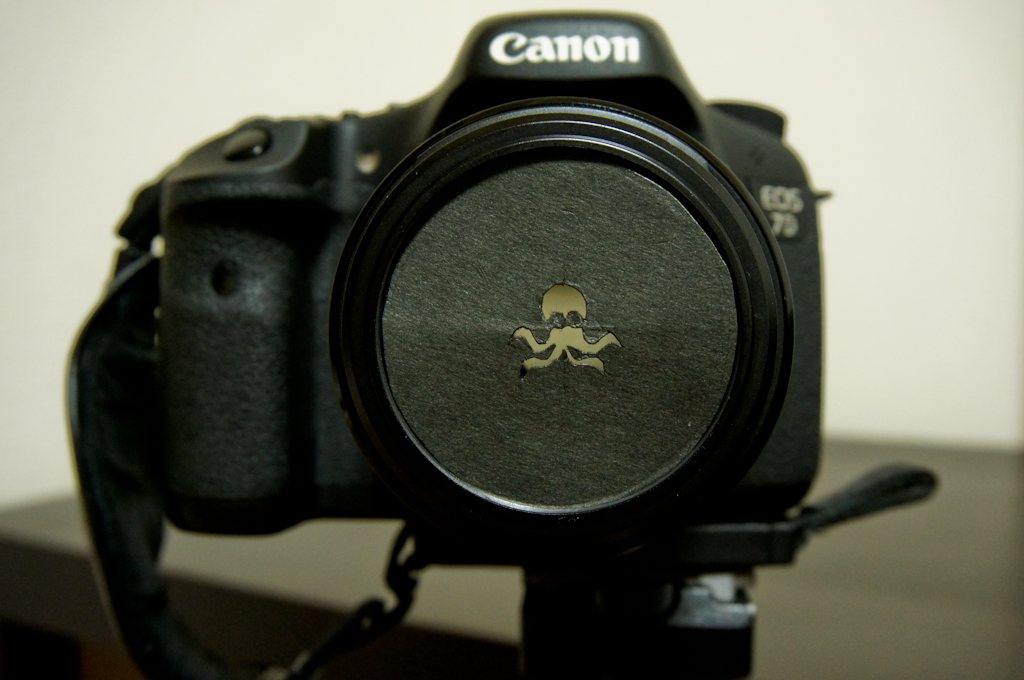
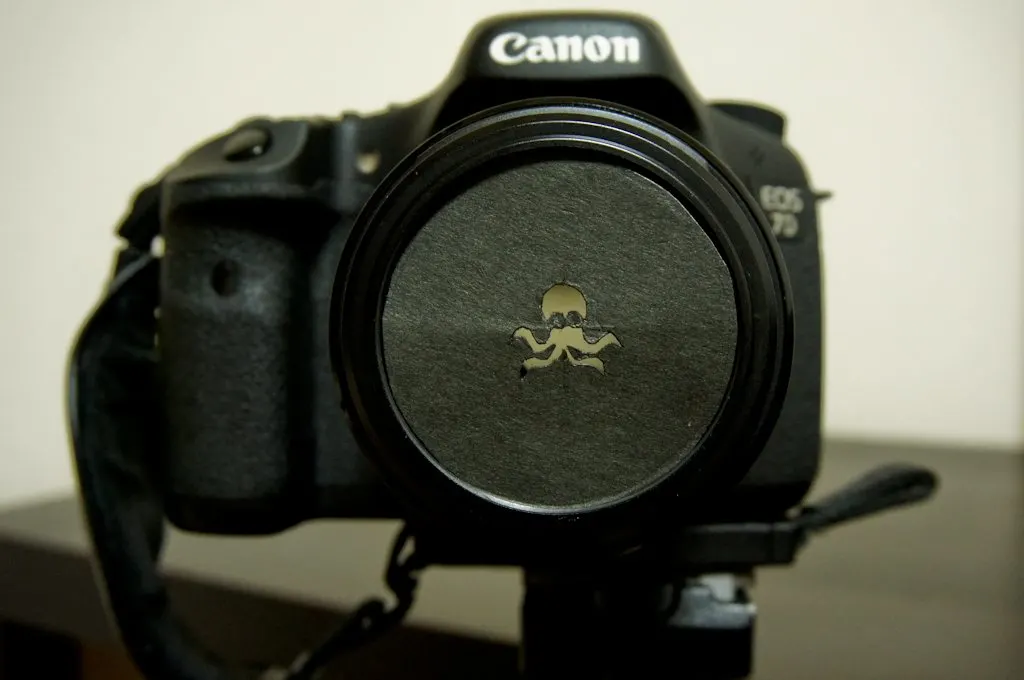
4. Fit the finished product over your lens and shoot.
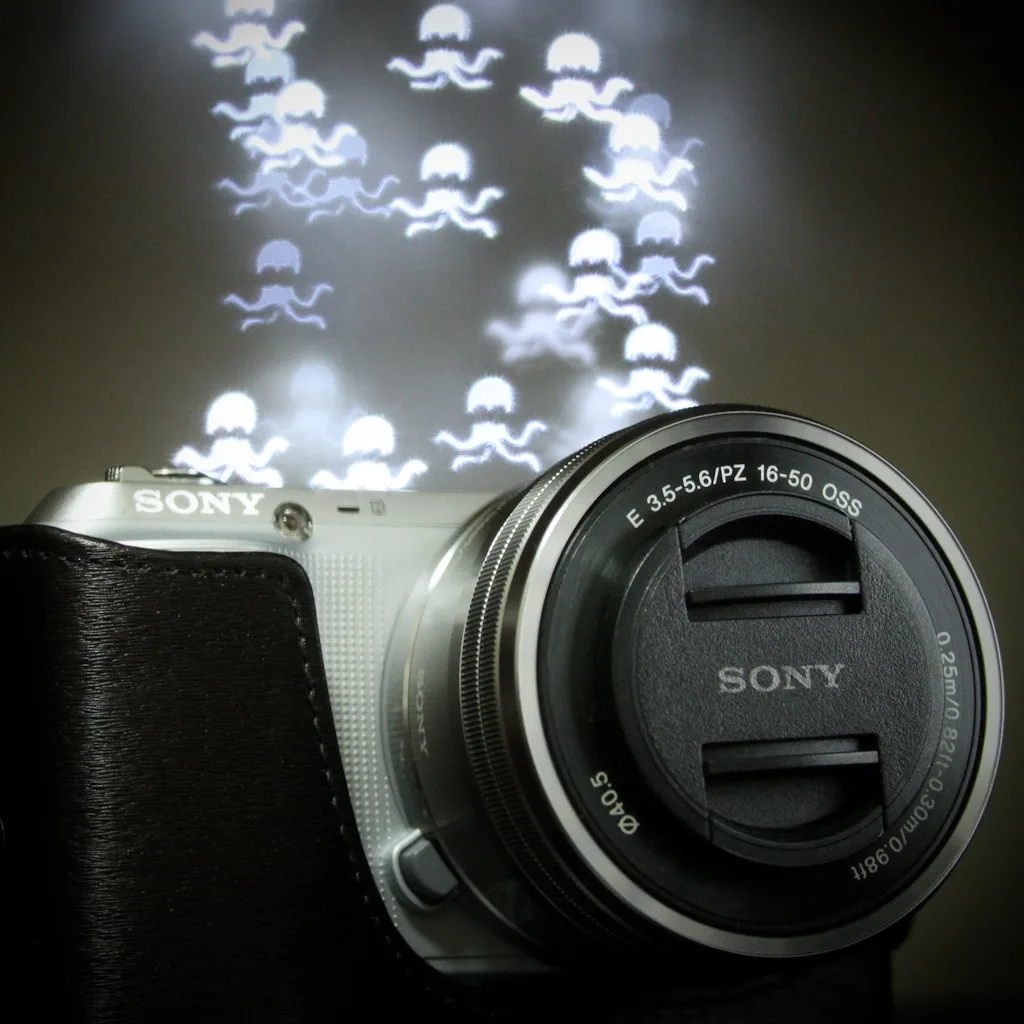
For pronounced effects, photograph scenes at night with multiple specular highlights. Here for example, I manually focused on the subject in the foreground while lights in the background were rendered into my chosen shape.

Experiment and have fun : )